
Halloween is finally over. Kids just start to sleep again at night after all the sugar rush. And here we are with too many pumpkins and the usual guilt to throw them away!
Sorry, this is not vegan recipes. As much as i’m good with vegan dinner, i’m still struggling to find good recipe for desserts…. and I can’t resist caramel!!!
This is from far my favourite pumpkin recipes.
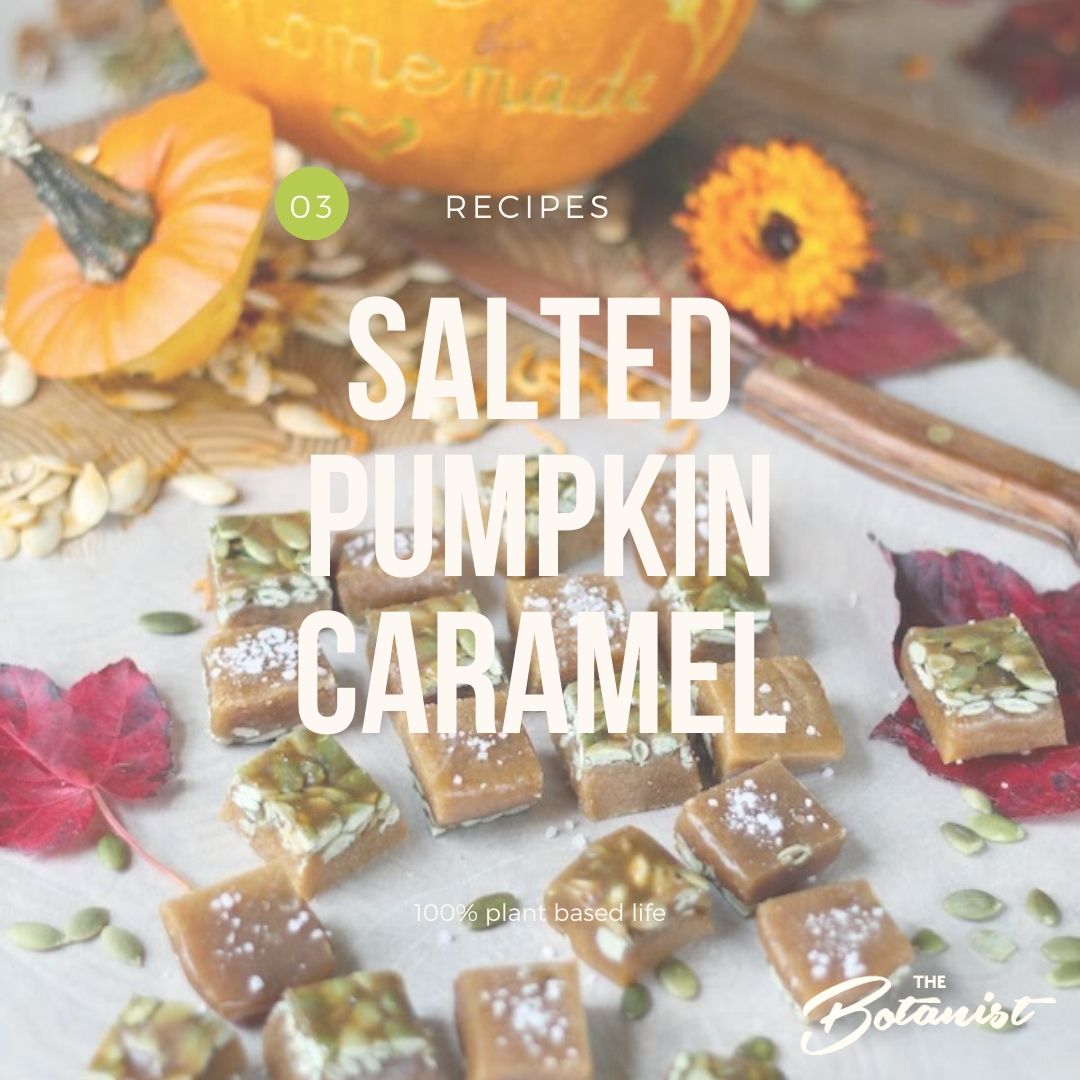
SALTED PUMPKIN CARAMEL
I take this recipe as is from Kitchen Vignette Blog. You must follow this link and have a look at her cooking video. It is beautiful and show how easy it is to do.
http://kitchenvignettes.blogspot.com/2012/10/salted-pumpkin-caramels.html
This recipe makes approximately 64 1-inch caramels
3/4 cup pumpkin seeds (pepitas)
1 1/2 cup heavy cream (35% or whipping cream)
3/4 cup pumpkin puree
1 1/2 tsp. pumpkin pie spice (or 1/2 tsp. cinnamon, 1/4 tsp. each ginger and nutmeg, and 1/8 tsp. each allspice and cloves)
2 cups white sugar
1 cup maple syrup
1/4 cup water
4 tablespoons butter
1 tsp. lemon juice
1 tsp. fleur de sel or kosher salt
Toast the pumpkin seeds in a skillet until they start popping. Line the bottom of a buttered 8-inch square glass pan with buttered parchment paper. Spread out the toasted pumpkin seeds on top of the parchment in the pan.
In the saucepan, combine the cream, pumpkin puree, and the spices. Heat it until warm, but do not let it boil. Remove from heat.
In a medium heavy-bottomed pan, combine the sugar, maple syrup, and water. Stir until the sugar is melted. Allow it to boil until it reaches 244 degrees (the upper limit of "soft ball" point on a thermometer). Add the cream and pumpkin mixture, and stir gently until incorporated. Allow this mixture to boil and bring it to 240 degrees on the candy thermometer. This is the part that takes time, around 30 minutes, so be patient and watch it carefully, stirring often so it doesn't burn, particularly in the last stages when it gets very thick.
Once it has reached 240, remove it from heat and stir in the butter and lemon juice swiftly, stirring well until both are fully incorporated and butter is melted. Now immediately pour the caramel into the pan, all in one go, on top of the pumpkin seeds. Let it cool about 30 minutes and if you wish you can sprinkle the salt on at this stage (or wait later and individually sprinkle salt on each square once they are cut). Wait at least 2 hours for caramel to fully set before slicing. Use a hot knife to slice them more easily, cutting them into 1-inch squares. You can wrap them individually in waxed paper.
Be careful, they are SO addictive!! And this is true!!!